Workflow Editor
A tour of the canvas where you design and test your flows.
The editor is where a flow takes shape. You add steps from the Action library, arrange them on a canvas, connect them to define order, and run the whole thing against real data whenever you want — there is no separate build or deploy stage.
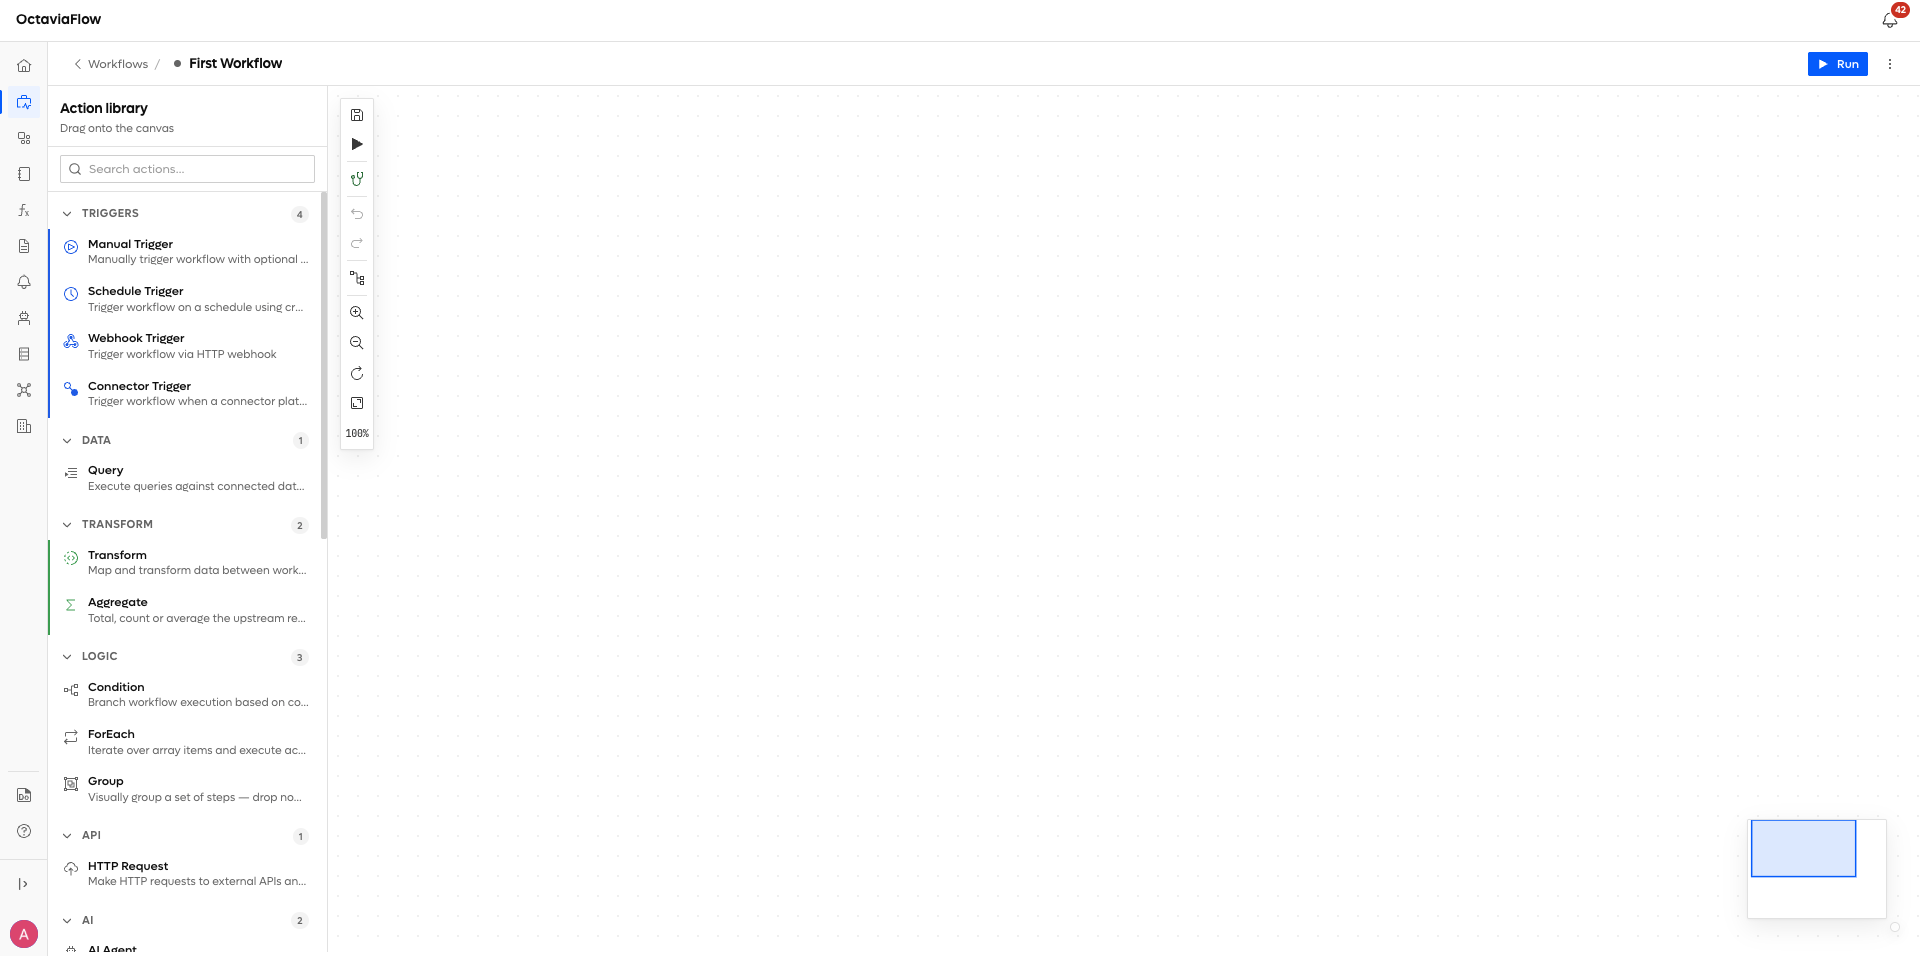
The canvas#
Steps are nodes; the lines between them are the execution order. A step runs when the step feeding it has finished.
A few things worth knowing early:
- Connections define order, not data. A step can read the output of any earlier step, not just the one wired into it. The line says "run after"; the variable picker says "read from".
- Branches really are branches. After a Condition, only the path whose outcome matched runs at all.
- Group is cosmetic. It keeps a big canvas readable and changes nothing about execution.
Adding a step#
Open the Action library and pick from the grouped catalogue — triggers, data, logic, files, integration, messaging, AI, utilities. Every flow needs exactly one trigger, and it must be first.
The full catalogue is in Actions Overview.
Configuring a step#
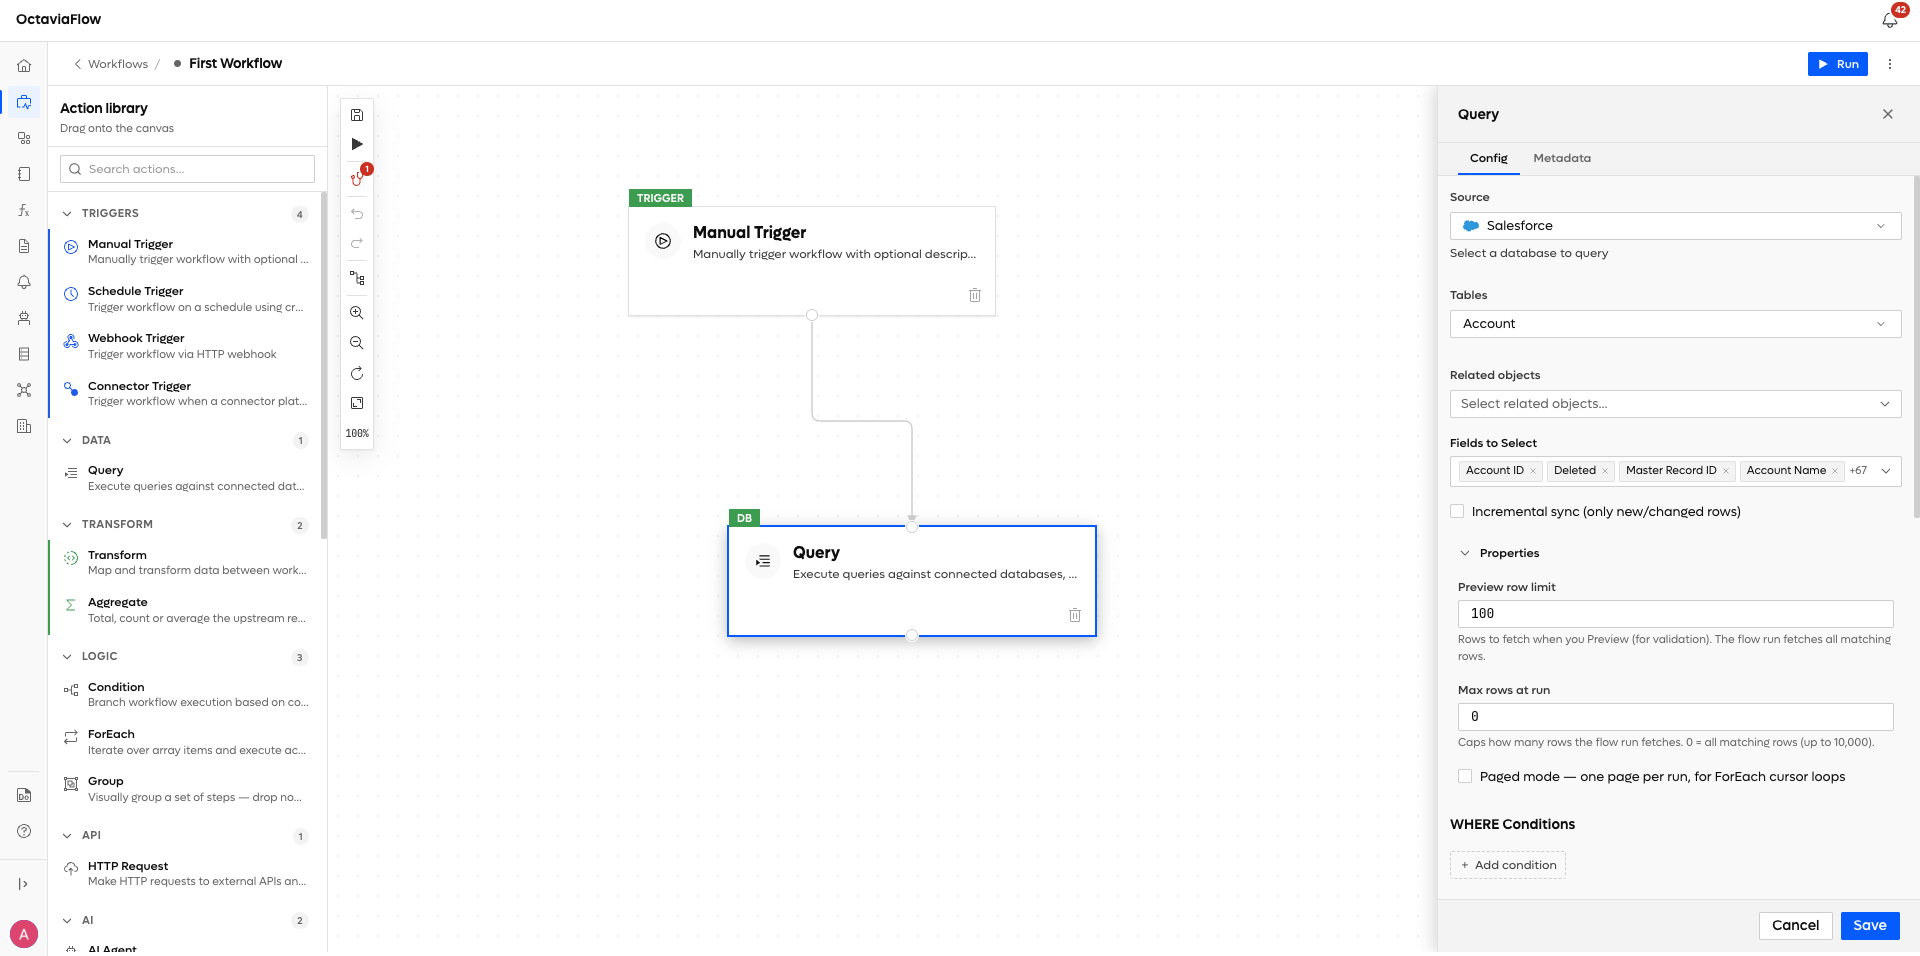
Selecting a step opens its configuration panel. Panels lead with the settings you almost always need; the rarer ones sit behind a collapsed Advanced options section, so a simple case stays simple.
Nearly every field accepts live data as well as a fixed value. Use the field's Insert Variable picker rather than typing a path by hand — it shows the real shape of each upstream step, so you can only pick something that exists. See Data References.
Testing as you build#
You can run the flow at any point while editing, even half-finished. Each step streams its status and output live into the Execution console, so you can check the shape of the data before wiring the next step.
This is the intended rhythm: add one step, run, look at what came out, add the next. It is much faster than building six steps and then working out which one is wrong.
Validation#
The editor checks the flow as you build and flags problems rather than letting them fail at run time. The common ones:
Warning | Means |
|---|---|
Missing required settings | A step has empty required fields — open it and fill them in |
Trigger has no outgoing connections | The trigger is not wired to anything |
Workflow must have at least one trigger node | Nothing will ever start this flow |
Circular connection detected | Steps loop back on each other and execution order is undefined |
This canvas holds N separate flows | There is more than one trigger, and each trigger only runs its own chain |
That last one catches people out. Two triggers on one canvas is not "two ways to start the same flow" — it is two independent flows sharing a screen, and a step is only reachable from the trigger it is actually connected to.
Saving, and what it does not do#
Saving keeps your work. It does not make the flow live.
Control | Effect |
|---|---|
Save | Your changes are stored, and a new entry appears in the flow's history |
Run | Executes the current flow once, now. While it runs the button becomes Stop |
Undo / Redo | Step back and forward through edits in this session |
Activate (in the project's Workflows list) | The trigger starts firing on its own |
The History panel, opened from the editor header, shows this session's edits on its Local tab and every saved version on its Cloud tab. Local entries can be reverted; cloud versions are view-only. See Flow Versions.
Editing a flow that is already active is safe — see Managing Flows for how in-progress edits and the running version relate, and Flow Versions for what history is kept.
Where to look when something misbehaves#
- The Execution console, while it is running — per-step status and output as it happens.
- Execution Logs afterwards — every run, with per-step inputs, outputs and errors.
- A Debug step in
assertmode — fails the run exactly where an assumption breaks, instead of three steps later. See Actions Overview.